Wednesday, October 24, 2012

Paper Bag Recipe Album Kit

 
I have wanted to  make a paper bag album forever but couldn't find any ideas that I liked.
I found this kit at Archiver's and decided to see what it looked like put together. I love it! Too bad I don't cook much, guess I will have to find someone to give it to!
 
 
Bon' Appetite Recipe Pocket Book
 
 
Front Cover:


Pages 1-2:
 
 
Pages 3-4:

 
Pages 5-6:

 
Pages 7-8:

 
Close up of slide out recipe cards:

 
Pages 9-10:

 
Back Cover:


Friday, September 14, 2012

Nutcracker Mini Album

A dear friend's daughter is dancing in the Nutcracker again this year and when I saw this Graphic 45 paper pack I knew I had to make her something. I thought I would use my Wizard of Oz kit instructions and see if I could make something from scratch.

 
The Graphic 45 paper pack I used:

 
I used chipboard for the cover and covered it with paper. I used pop dots to raise Clara.


Here is the inside cover and page 1


Page 1 opened
 
My thought is that everywhere you see a blank beige paper you can put photos or souveniers in that spot (there are lots of pockets)
 
 
with the flap open
 
 
The back of page one


The back of page 1 opened
 
 
Back of page 1 and front of page 2

Page 2
 
 
Page 2 opened (inside)
 
 
these tags in the pockets have spots on the back for pictures
 
 
The back page 2 and front of page 3


Page 3
 
 
Page 3 inside
 
 
Page 3 inside with the flap open


the back of page 3 and the back cover
 
 
Back cover
 
 
Side view
 

Thats it!
 I hope she likes it!


Saturday, August 18, 2012

Wizard of Oz Album

I bought the album kit online at Archievers - it was expensive but the finished product is phenominal!!

Front Cover


Inside of front cover and page 1


inside of page 1


opened

back of page one in front of page 2


back of page 1 flipped open


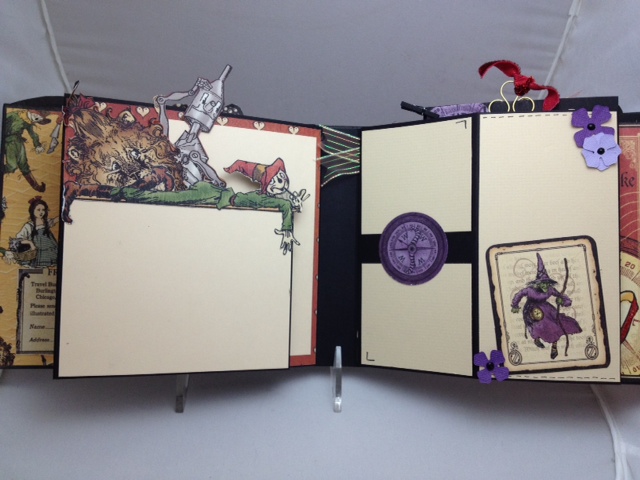
page 2 front open


back of page 2 and front of page 3


back of page 2 open


back of page 2 and page 3


back of page 3 flipped open and back cover


close up of page 3


this is what the kit looked like, it was full sheets of paper that you had to fussy cut and then fit together, the instructions were VERY hard to follow but I finally figured it out

Wednesday, August 15, 2012

More Vinyl with the cameo

While I was working on my vinyl project I had a friend who saw my pictures on FB and asked me to cut her name out for a sign for her business....and offered to PAY me!! (woo hooo!!!)

This is her sign:


Didn't it turn out super cute??? she already had the sign painted and all she had to do was stick my letters and the crowns I cut on there!

While she was at the house she asked if I would cut out "Welcome" in vinyl for her door - here is her door - I LOVE the turquoise!!! (and the wreath she made!!!)


and then I decided to cut it out in a different font for OUR door (ours is the red door)


I am going to continue to learn to use Romeo - he is fabulous!

Playing with Vinyl


I decided to drag out the cameo and play...I put vinyl on the kitchen cabinets and I love the way it turned out. It was a pain because the cabinets are not uniform in size...


After I finished this project I realized that my cameo needed a name. I have decided to call him....


ROMEO

because I am falling in love with him :)

Tuesday, July 17, 2012

If the shoe doesn't fit....make it into something else

I bought these shoes for $2.99 at the thrift store, got them home and they just didn't fit (along with the fact that I was going to break my neck if I wore shoes that high!!!) so I decided to imitate something I had seen a few weeks back...

It started as a plain black patent leather pump....


which I decided to alter....


It says "the right shoes can change your life - just ask Cinderella"